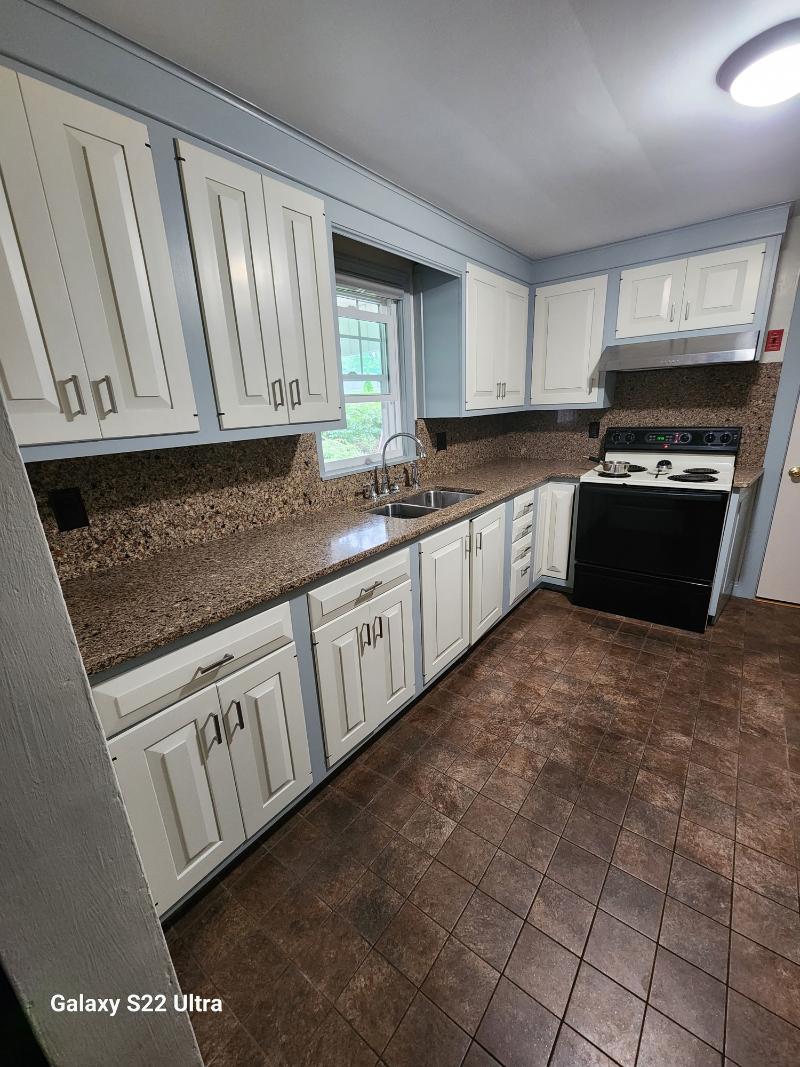
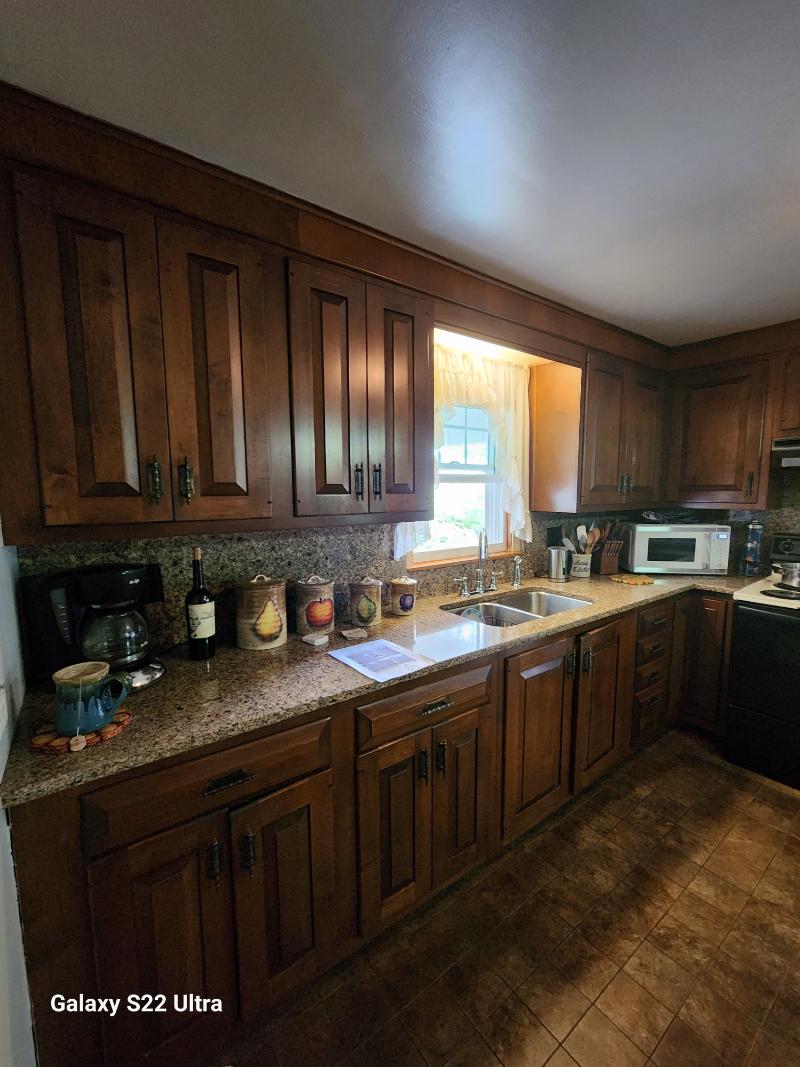
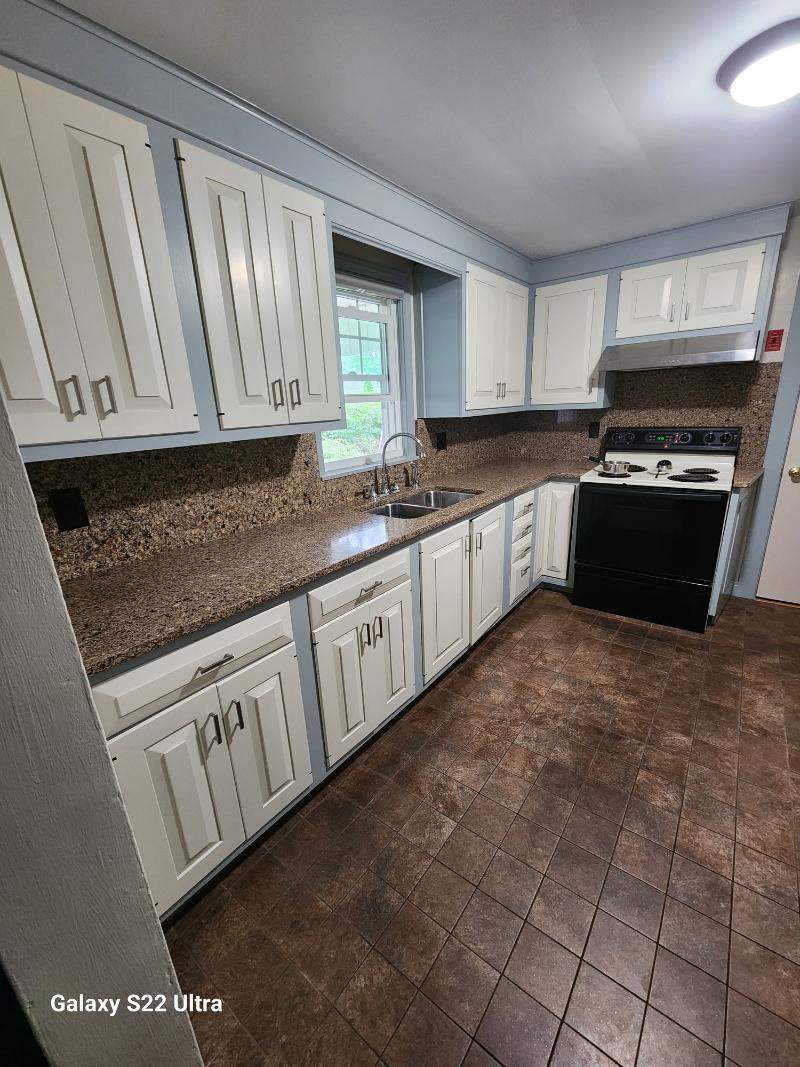
Cabinet Painting in Leominster, MA
Step 1: Preparation

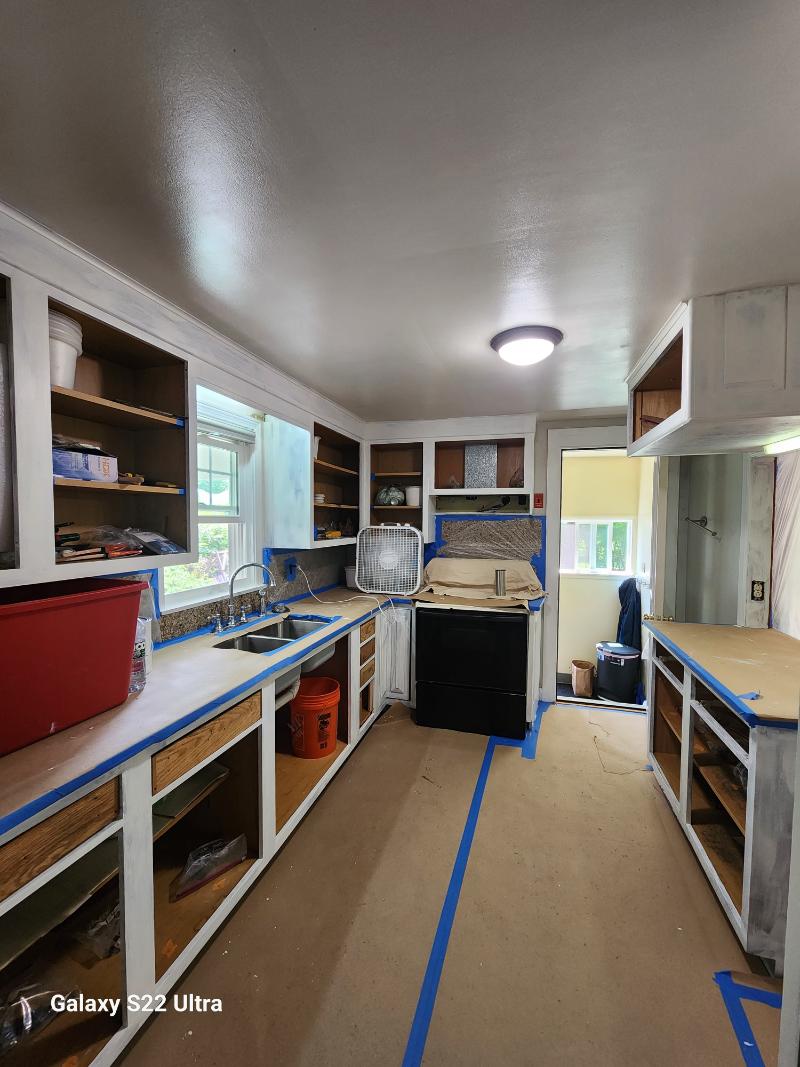
- 1. Clear the Area: Remove all items from the cabinets and clear the surrounding area. Lay down drop cloths to protect countertops and floors.
- 2. Remove Cabinet Doors and Hardware: Use a screwdriver to remove cabinet doors, drawers, and hardware (hinges, knobs, and pulls). Label each door and its corresponding hardware to ensure easy reassembly.
- 3. Clean the Surfaces: Clean all cabinet surfaces with a degreaser or TSP solution to remove grease, dirt, and grime. Rinse thoroughly with water and let dry completely.
Step 2: Sanding
- 4. Sand the Cabinets: Lightly sand all surfaces to be painted with 120-grit sandpaper to scuff up the surface for better paint adhesion. Focus on removing any gloss from previous finishes.
- 5. Remove Dust: Wipe down all sanded surfaces with a tack cloth to remove dust and debris.
Step 3: Priming
- 6. Apply Primer: Apply a coat of high-quality primer to all cabinet surfaces. Use an angled brush for corners and detailed areas, and a foam roller for flat surfaces to ensure an even application.
- 7. Dry and Sand: Allow the primer to dry according to the manufacturer’s instructions. Once dry, lightly sand the surfaces with 220-grit sandpaper to smooth out any imperfections. Wipe clean with a tack cloth.
Step 4: Painting
- 8. First Coat of Paint: Apply the first coat of paint using a high-quality brush for detailed areas and a foam roller for larger, flat surfaces. Work in thin, even layers to avoid drips and brush marks.
- 9. Dry and Sand Again: Let the first coat dry completely. Lightly sand with 220-grit sandpaper to ensure a smooth finish, then wipe with a tack cloth.
- 10. Second Coat of Paint: Apply a second coat of paint, again using a brush for detail work and a foam roller for flat areas. Ensure even coverage and smooth application.
- 11. Final Inspection: Once the second coat is dry, inspect the cabinets for any missed spots or imperfections. Touch up as needed.
Step 5: Reassembly
- 12. Reattach Hardware: Once the paint is fully dry and cured, reattach the hardware (hinges, knobs, and pulls) to the cabinet doors and drawers.
- 13. Reinstall Doors and Drawers: Reinstall the cabinet doors and drawers, ensuring they are properly aligned and functioning smoothly.
Final Tips:
- Patience: Allow sufficient drying time between each coat of primer and paint to ensure a durable finish.
- Ventilation: Work in a well-ventilated area and consider using a respirator mask to avoid inhaling fumes.
- Quality Materials: Using high-quality paint and primer will enhance the durability and appearance of your cabinets.
Following these detailed steps will help you achieve a professional-looking finish on your painted cabinets.
Products Used:
- Paint and Primer: High-quality primer (e.g., Zinsser Bulls Eye 1-2-3), and paint (e.g., Benjamin Moore Advance Interior Paint)
- Tools Sandpaper (120 and 220 grit), tack cloths, paintbrushes (angled and flat), foam rollers, paint trays, painter’s tape, drop cloths, screwdrivers, plastic bags or containers for screws
"Frank DeMore and his crew did a wonderful, excellent job on refurbishing our kitchen cabinets. They are particular in their work and they want their customer to be satisfied. They go above and beyond their daily work We highly recommend Frank and his crew. They are very professional. They live up to their motto: You get more with DeMore."
Dale Cyr
Project Details:
- Service: Cabinet Painting
- Location: Leominster, MA


