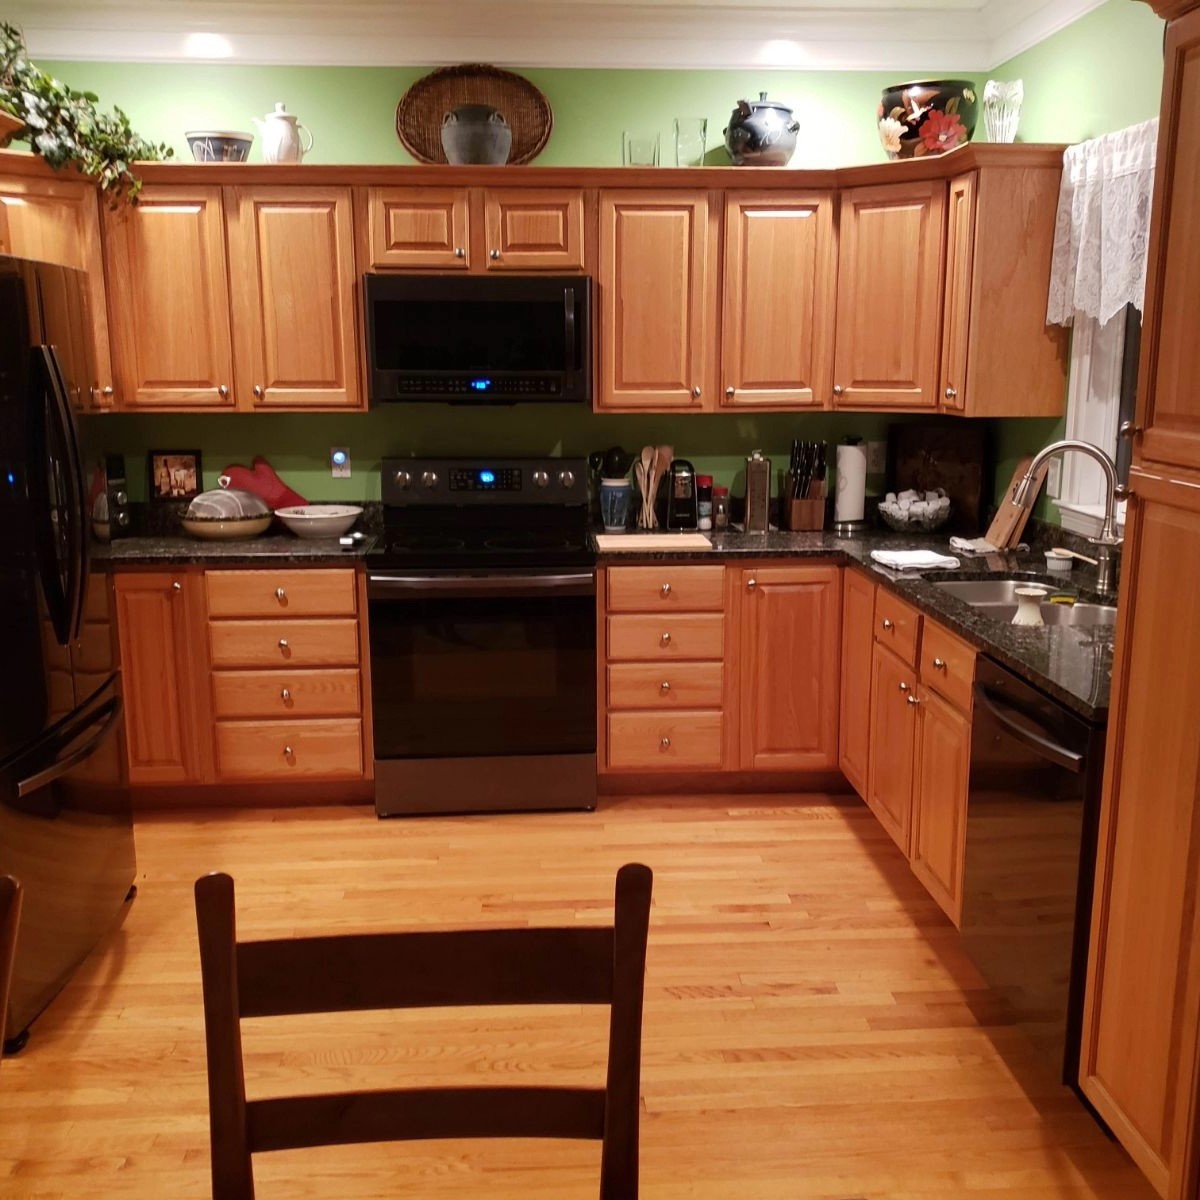
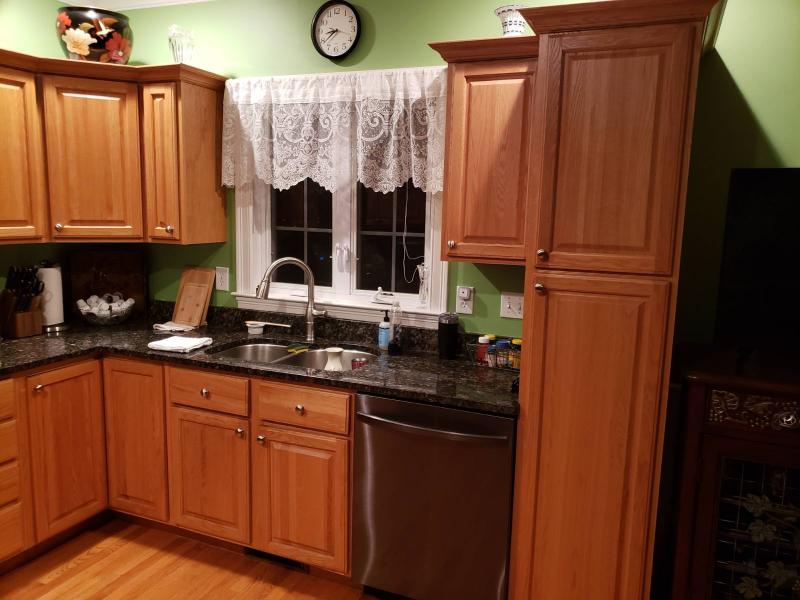
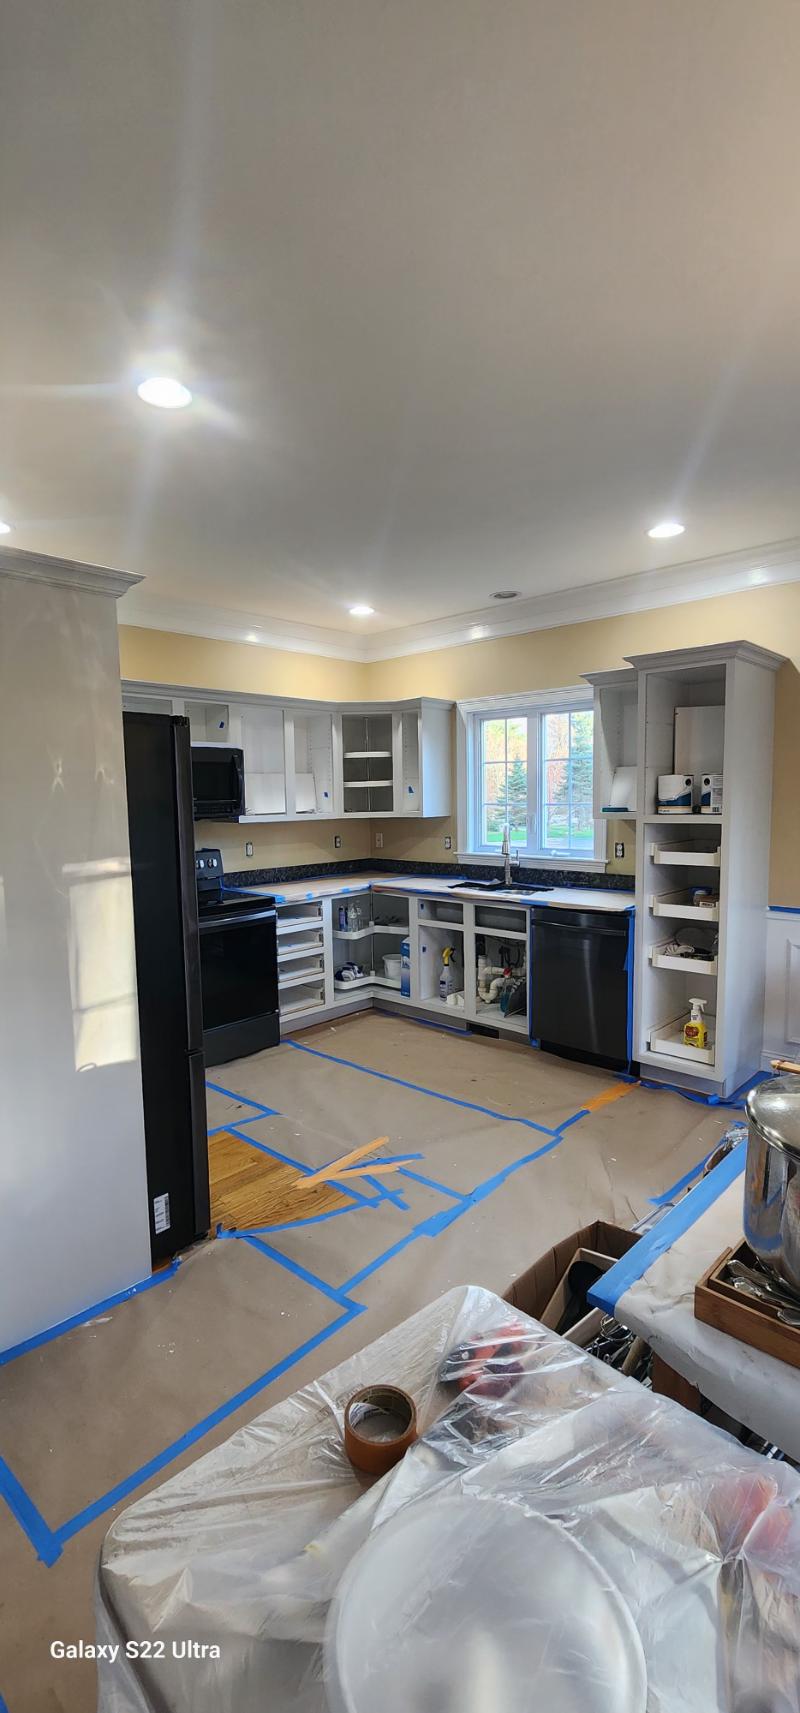
Cabinet Repairs & Painting in Lancaster, MA
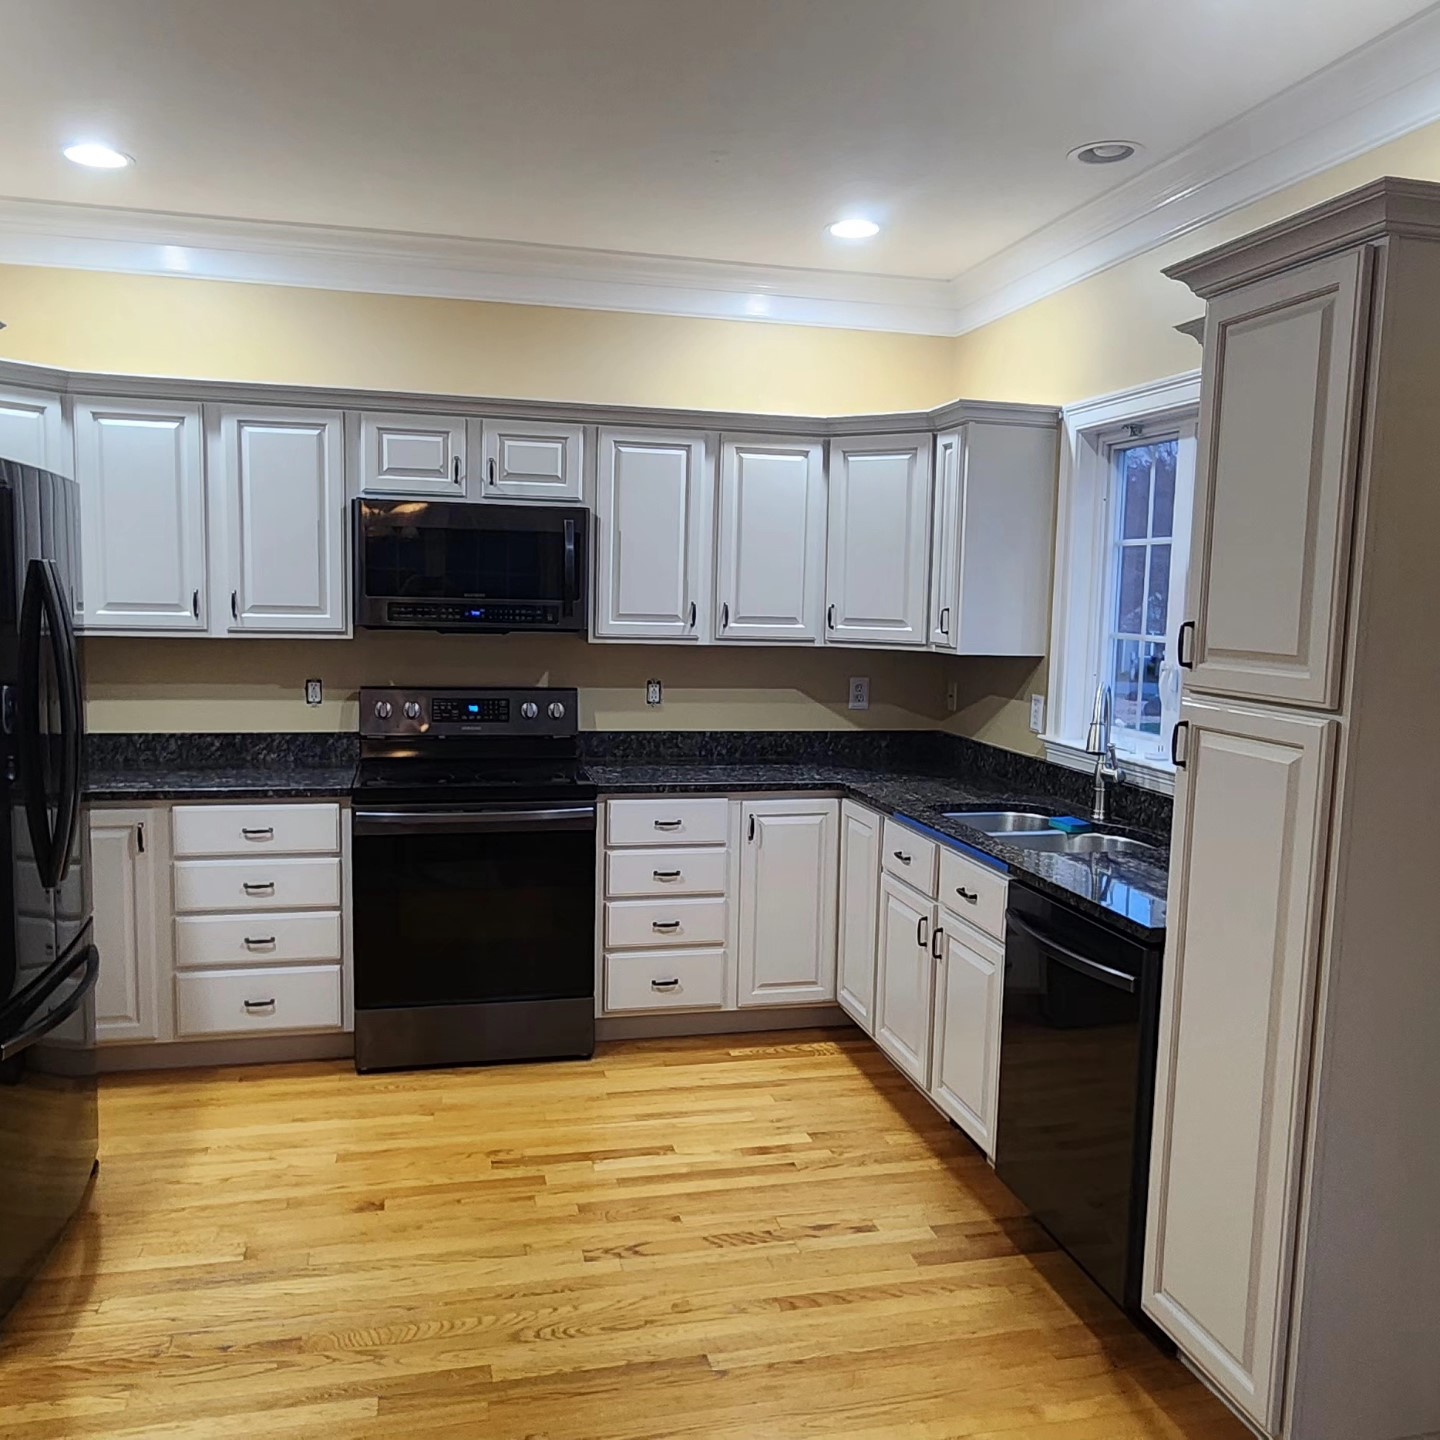
Painting cabinets can rejuvenate a kitchen or bathroom and is a cost-effective way to give your space a fresh look. Here's a step-by-step guide to painting cabinets in Lancaster, Massachusetts:
Step 1: Preparation
- 1. **Remove Cabinet Doors and Hardware**:
Use a screwdriver to remove the cabinet doors, drawers, and all hardware (handles, knobs, hinges).
Label each door and corresponding hardware to make reassembly easier. - 2. **Clean Surfaces**:
Thoroughly clean all surfaces with a degreaser or a mixture of water and mild detergent to remove any grease, dirt, and grime.
Rinse with clean water and allow to dry completely. - 3. **Sand Surfaces**:
Lightly sand all surfaces with 120- to 220-grit sandpaper to scuff up the surface, which helps the primer and paint adhere better.
Wipe off the sanding dust with a tack cloth or a damp rag. - 4. **Fill Imperfections**:
Use wood filler to fill any holes, dents, or scratches.
Once the filler is dry, sand the filled areas smooth. - 5. **Protect Surrounding Areas**:
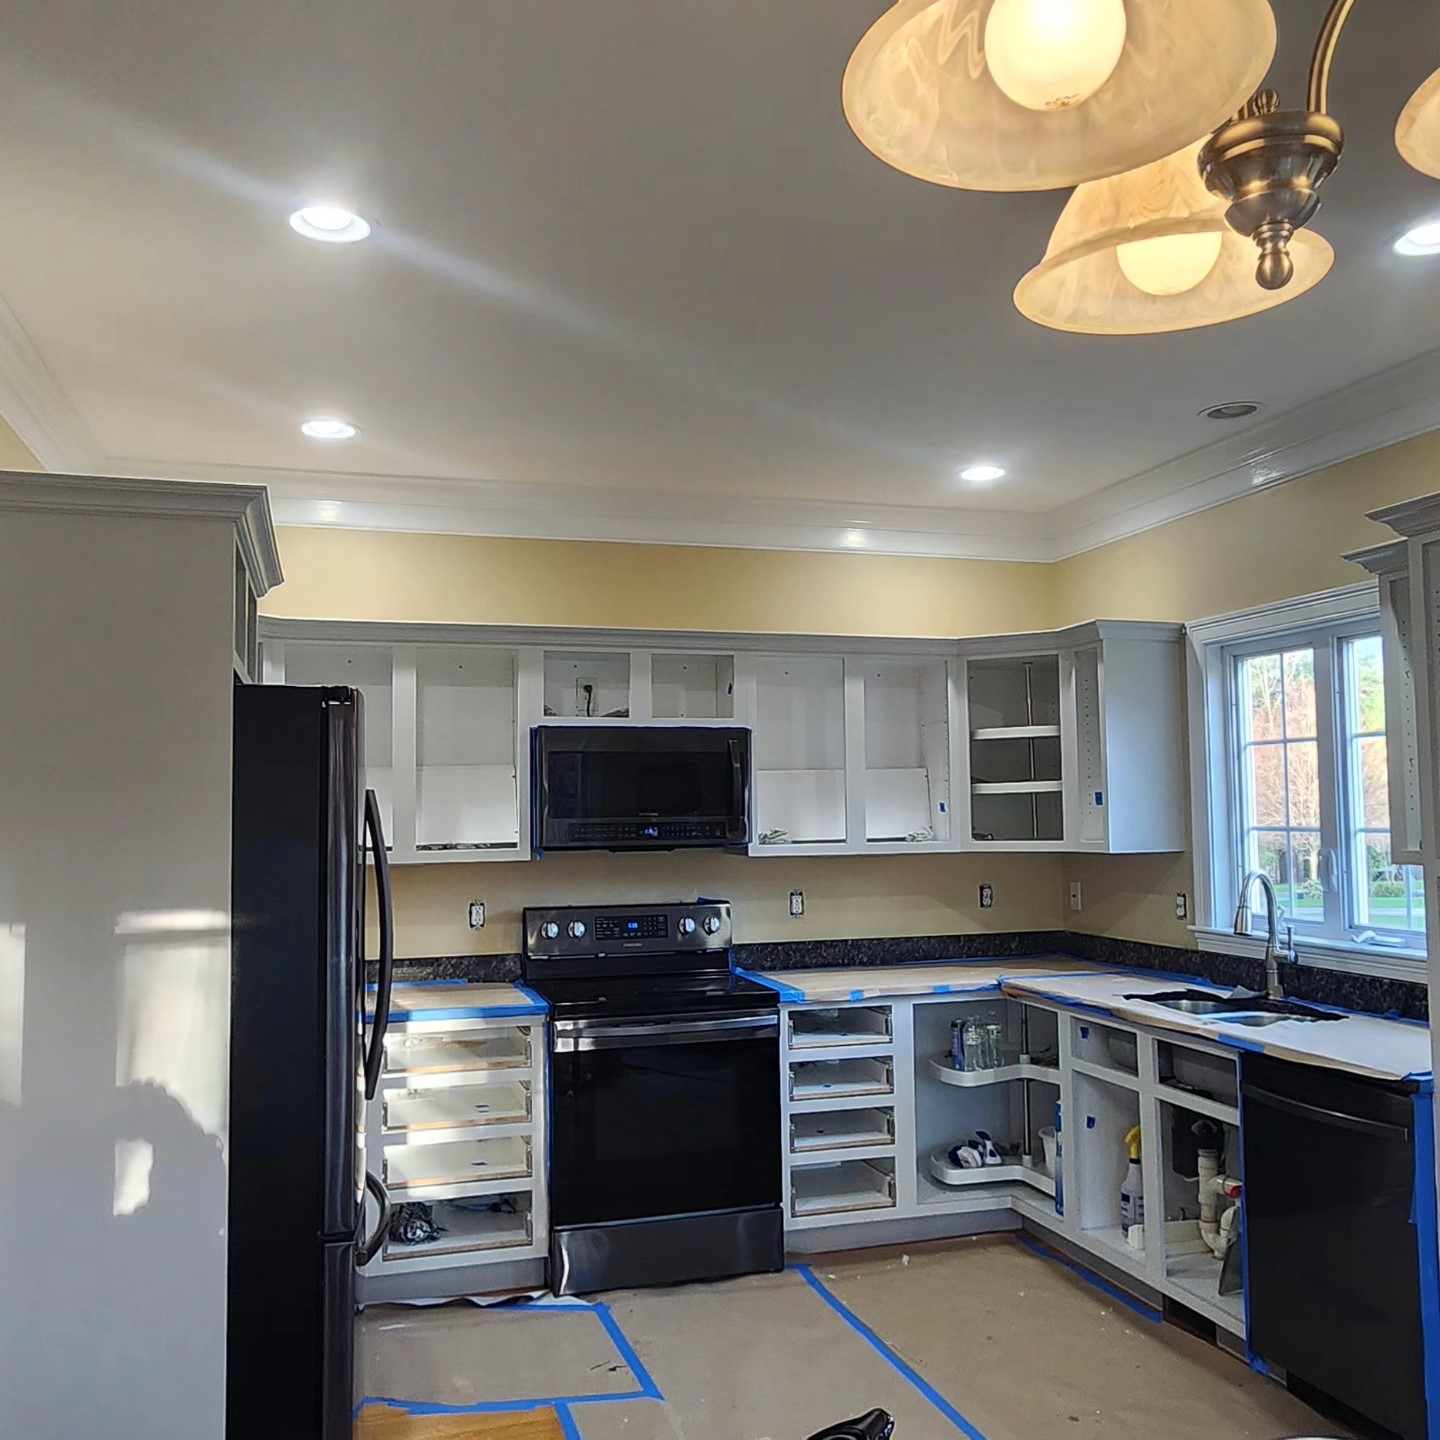
Cover countertops, appliances, and floors with drop cloths or plastic sheeting.
Use painter’s tape to mask off areas that you don’t want painted.
Step 2: Priming
- 1. **Choose the Right Primer**:
Select a high-quality primer suitable for your cabinet material (wood, laminate, etc.). An oil-based or shellac-based primer is often recommended for its superior adhesion. - 2. **Apply Primer**:
Use a brush or a foam roller to apply a thin, even coat of primer to all surfaces.
Allow the primer to dry according to the manufacturer's instructions. - 3. **Sand Primer**:
Lightly sand the primed surfaces with fine-grit sandpaper (220-grit).
Wipe off the dust with a tack cloth.
Step 3: Painting
- 1. **Select Paint**:
Choose a high-quality paint designed for cabinets, which is typically a semi-gloss or gloss finish for durability and ease of cleaning. - 2. **Apply First Coat**:
Use a high-quality brush or foam roller to apply the first coat of paint. Foam rollers are great for achieving a smooth finish without brush strokes.
Paint in the direction of the wood grain for a better finish. - 3. **Dry and Sand**:
Allow the first coat to dry completely as per the paint manufacturer’s instructions.
Lightly sand the first coat with fine-grit sandpaper (220-grit) and wipe off the dust. - 4. **Apply Second Coat**:
Apply a second coat of paint, ensuring even coverage.
Let the second coat dry completely.
Step 4: Reassembly
- 1. **Reattach Hardware**:
Once the paint is completely dry, reattach the hardware to the cabinet doors and drawers. - 2. **Reinstall Doors and Drawers**:
Carefully rehang the cabinet doors and slide the drawers back into place, ensuring everything is aligned properly. - 3. **Final Touches**:
Check for any touch-ups needed and address them.
Remove any painter’s tape and drop cloths.
Step 5: Curing
Allow the paint to cure for a few days to a week before heavily using the cabinets. This will ensure the paint hardens properly and is more resistant to scratches and wear.
Tips:
- **Ventilation**: Ensure good ventilation in the workspace to help with drying and reduce paint fumes.
- **Weather Conditions**: Choose a time when the weather is relatively dry and not too humid, as high humidity can affect paint drying times.
- **Professional Help**: If you're not confident in your painting skills, consider hiring a professional painter in Lancaster, MA to ensure a high-quality finish.
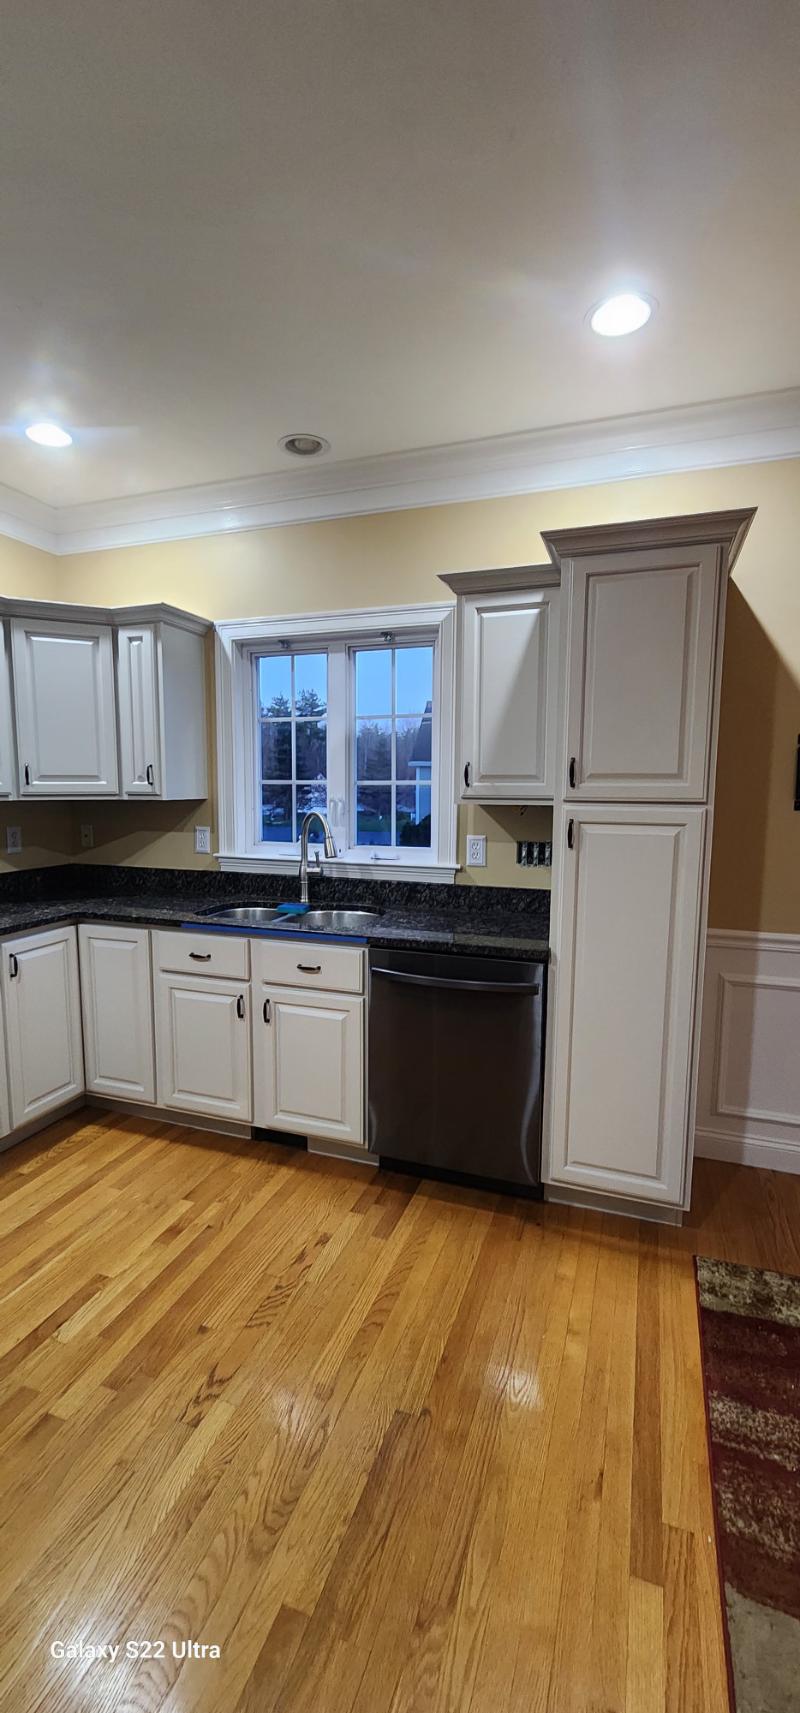
By following these steps, you can achieve a professional-looking paint job that breathes new life into your cabinets.
High quality. It pays attention to details. Prompt the best service I can imagine!
Raymond Champagne
Project Details:
- Service: Cabinet Painting
- Location: Lancaster, MA


